See This Report on Cabinets Installation
Table of ContentsSome Known Incorrect Statements About Cabinets Installation Some Ideas on Paint You Should KnowFacts About Drywall Repair UncoveredDrywall Repair Fundamentals Explained
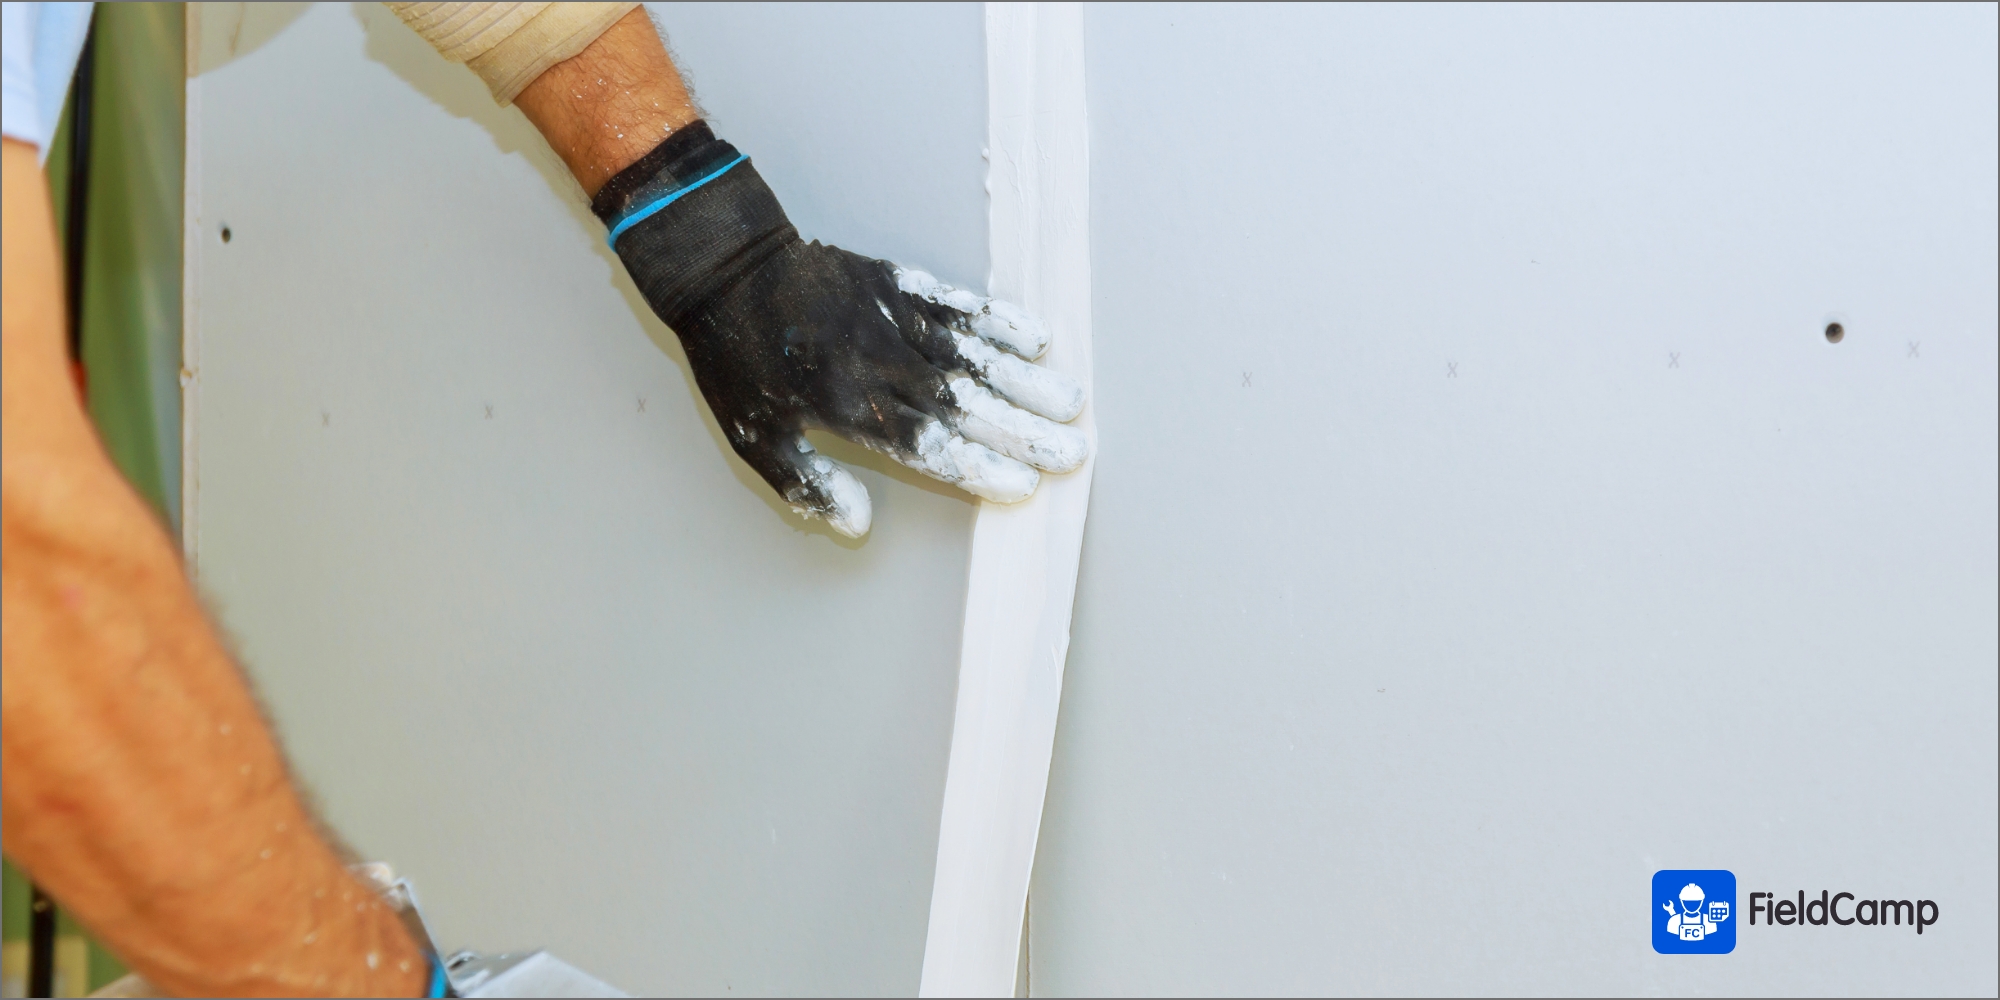
Use a stripe of covering up tape above and also below where you're using your caulk this will offer you a clean, even-looking line - Drywall repair. Take your tube of caulk there are various kinds, but choosing one with silicone will certainly give you much better mildew protection and also load it right into the caulking weapon, following the instructions on the package to cut open the application idea and also making certain that you puncture through any second layer of product packaging inside.
Keep revolving the snake up until the resistance passes, then pull it out whatever's plugging up the sink will likely come out with it. Under your sink, get rid of the straight pipe that links the catch to the stub pipeline in the wall, either by hand or utilizing a pipe wrench.
Once you have actually cleared the issue, retract the cord from the stub pipeline and re-attach the catch as well as horizontal pipeline. If you don't stay in a house, your empire (and also its maintenance) could well expand out into the driveway - Door handle. Sadly, fractures in concrete and also asphalt are a truth of life ones that, left unaddressed, will turn into a full-on holes.
The Best Guide To Drywall Repair
However if they're on the initial flooring, you need to be able to handle this on your own. Initially, obtain up on a ladder, making certain it's secure. You can use a stand-off, or ladder stabilizer, to stay clear of harming the seamless gutters or home exterior siding. Make use of a trowel to dig out dead fallen leaves and also other particles that's collected in the seamless gutters, accumulating it in a pail or trash bag.
Find and get rid of any kind of loosened screws in the joints. For each eliminated screw, take a wood matchstick, dip it in woodworker's glue, as well as drive it right into the screw opening, then damage or remove any component of the matchstick that protrudes. Drive each screw back right into the covered hole, and also the matchstick-glue combo must hold it secure.
The anchor also requires to match the size of the screws you're making look at more info use of, as well as these need to be at the very least 1. 5 inches long to protect your hanging - Cabinets installation. Pierce or hammer your pilot holes where you desire to hang something the larger the object, the more supports you'll need to hold it up.
Unknown Facts About Handyman In Miami
Unscrew the 2 screws in the take care of's face plate (the piece that repairs the door to the door jamb), handle plate (the item that repairs the knob to the door) and strike plate (the item in the door jamb with a slot for the latch). Draw the manages off both sides of the door, slide out the face plate as well as pawl and also eliminate the strike plate.

Finish it off by screwing on the strike plate. Heating system filters must be changed a minimum of every three month as well as a lot more frequently if you smoke in your residence or have family pets that dropped heavily. Initially, remove the vent cover depending upon the heating system design, this will certainly either be a large air flow grate in the wall surface, flooring or ceiling otherwise in the heater itself.

Place the old filter directly in a trash can (otherwise it'll spread out dirt almost everywhere), then slide in see here now the new filter, ensuring it encounters the proper direction, and also change the vent cover. Take down the home window frame and lay it on a flat surface. Pry the old display out of its framework.
The 10-Second Trick For Door Handle
Roll the brand-new display over the top of the structure, after that sufficed to make sure that there's one inch of extra display around the structure's sides. For a timber structure, utilize a hammer or staple weapon to connect the extended display to the beyond the Our site framework. For a metal or plastic frame, use a spline tool or putty knife to force the spline and also the display into the home window groove.
Apply lines of painter's tape wherever there is a side that isn't being repainted the flooring, around the ceiling and also any kind of wall surface you don't wish to be on the very same shade. Take some treatment with this, as uneven or quickly applied tape will certainly produce a sloppy line to your paint.
For the walls themselves, you should make use of a roller. First wet the roller, after that dip it into the paint colour and roll it in the paint try till it's uniformly covered. Apply the paint all over the walls in M and also W-shaped motions, after that let the paint dry. A bathroom that "runs," or where the storage tank is continuously refilling with water, is one of the most convenient handyman fixes.
Use a Phillips screwdriver to unscrew the cables from the switch, then cut the wire connection or use needle-nose pliers to get rid of the cables from the terminals. Remove the insulation from each cord with cord strippers, as well as use needle-nose pliers to make a tiny loop at the end of each wire.
Comments on “Little Known Questions About Handyman In Miami.”